Umbrella Host plans that allow you to add in additional domains based on our domain mapping feature can be added by following these steps:
First login to you hosting account via: Customer Home > Manage Product /service > Select plan >(Scroll down) click Login to Hosting control panel button
Once you have logged into your hosting account:
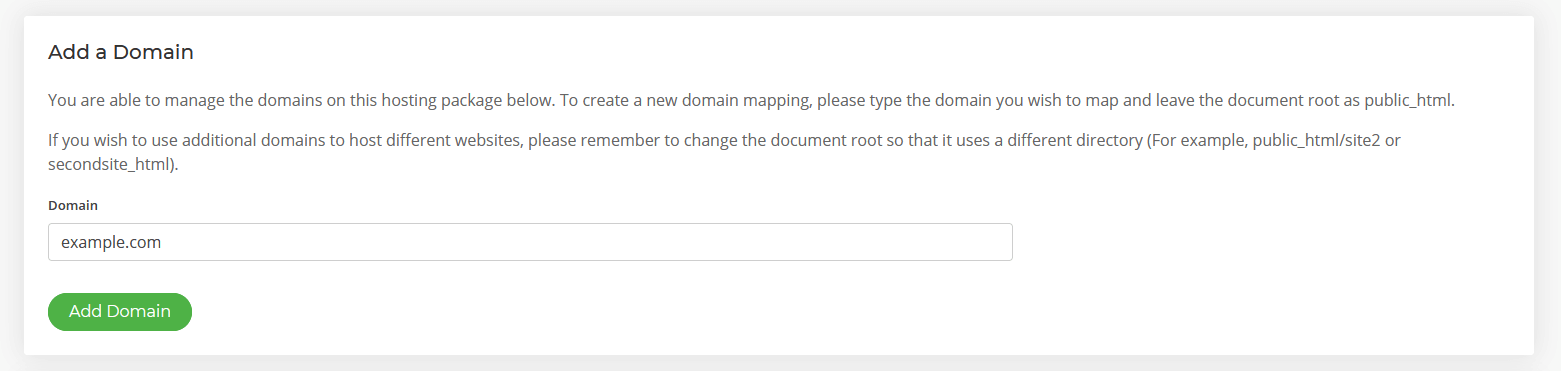
Step 1: Navigate to > Domain Names section > click on 'Domains' > add your domain into the box as shown below:
Tip: Don't add in the protocols i.e. http(s) OR www
Once your domain has been added it will appear in the section below. Then move onto step 2.
Step 2: Update your 'document' location
The new domain by default maps to the 'root' public_html folder. If you need a new separate website then you will need to add in a unique folder name that the additional domain will map to as per the image below (see additional steps below on how to do this):
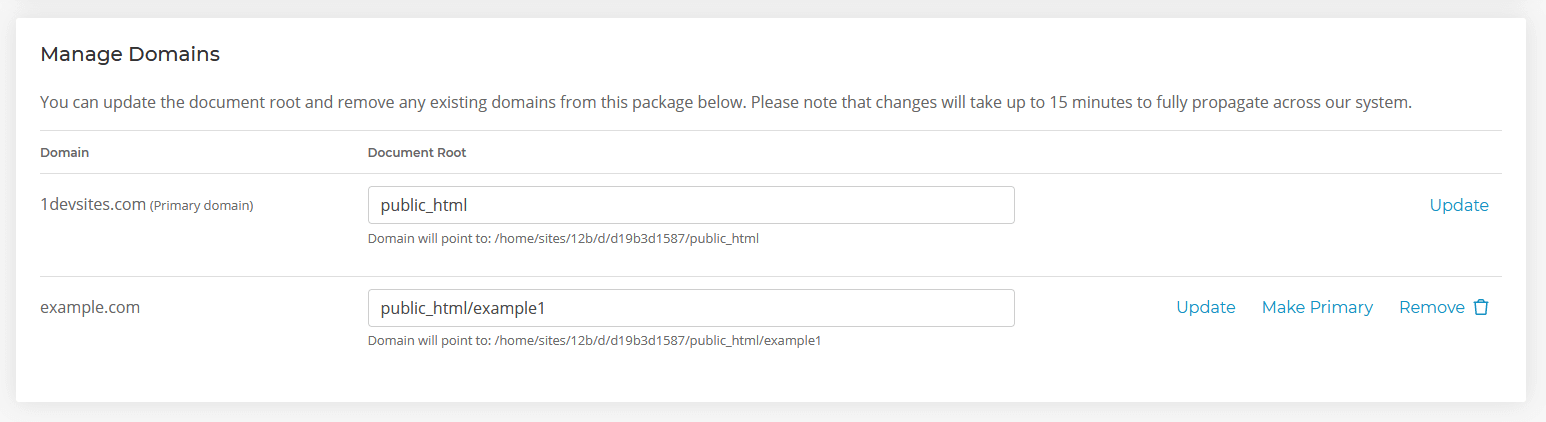
Tip: Keep your folder names organised IF you plan on adding a lot of domains. This will help you to identify domains/sites against folders easily.
Once you have done this please allow up-to 30 mins for the changes to reflect across our web hosting platform.
Additional Steps
Although you have added in a domain this does not create the respective folder (as per step 2 above) in your hosting account i.e. example1 folder is not automatically created. You will need to create this your self in one of 2 ways:
1st Method
If you plan on managing this domain your self then follow this step:
Step 3: Go to > file manager > select public_html folder > click create folder > specify folder name (i.e. example1)
You can now add any website files relevant to this domain under this folder as required.
2nd Method
OR if you plan on using the 1-click app installer facility then:
Step 3: Choose your 1-click app > Click install > follow prompts > when prompted for the location of the app specify public_html/example1 (replace example1 with your folder name as per step 2 above)
This will ensure the 1-click installer will install your app of choice in the correct folder.
Once the installer is complete you will be able to access your app with the user access details provided by the installer.


